

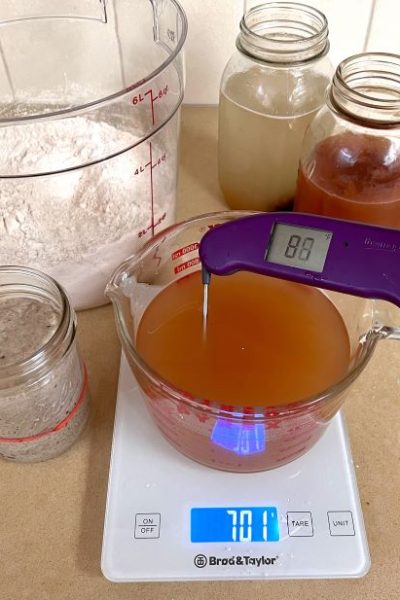
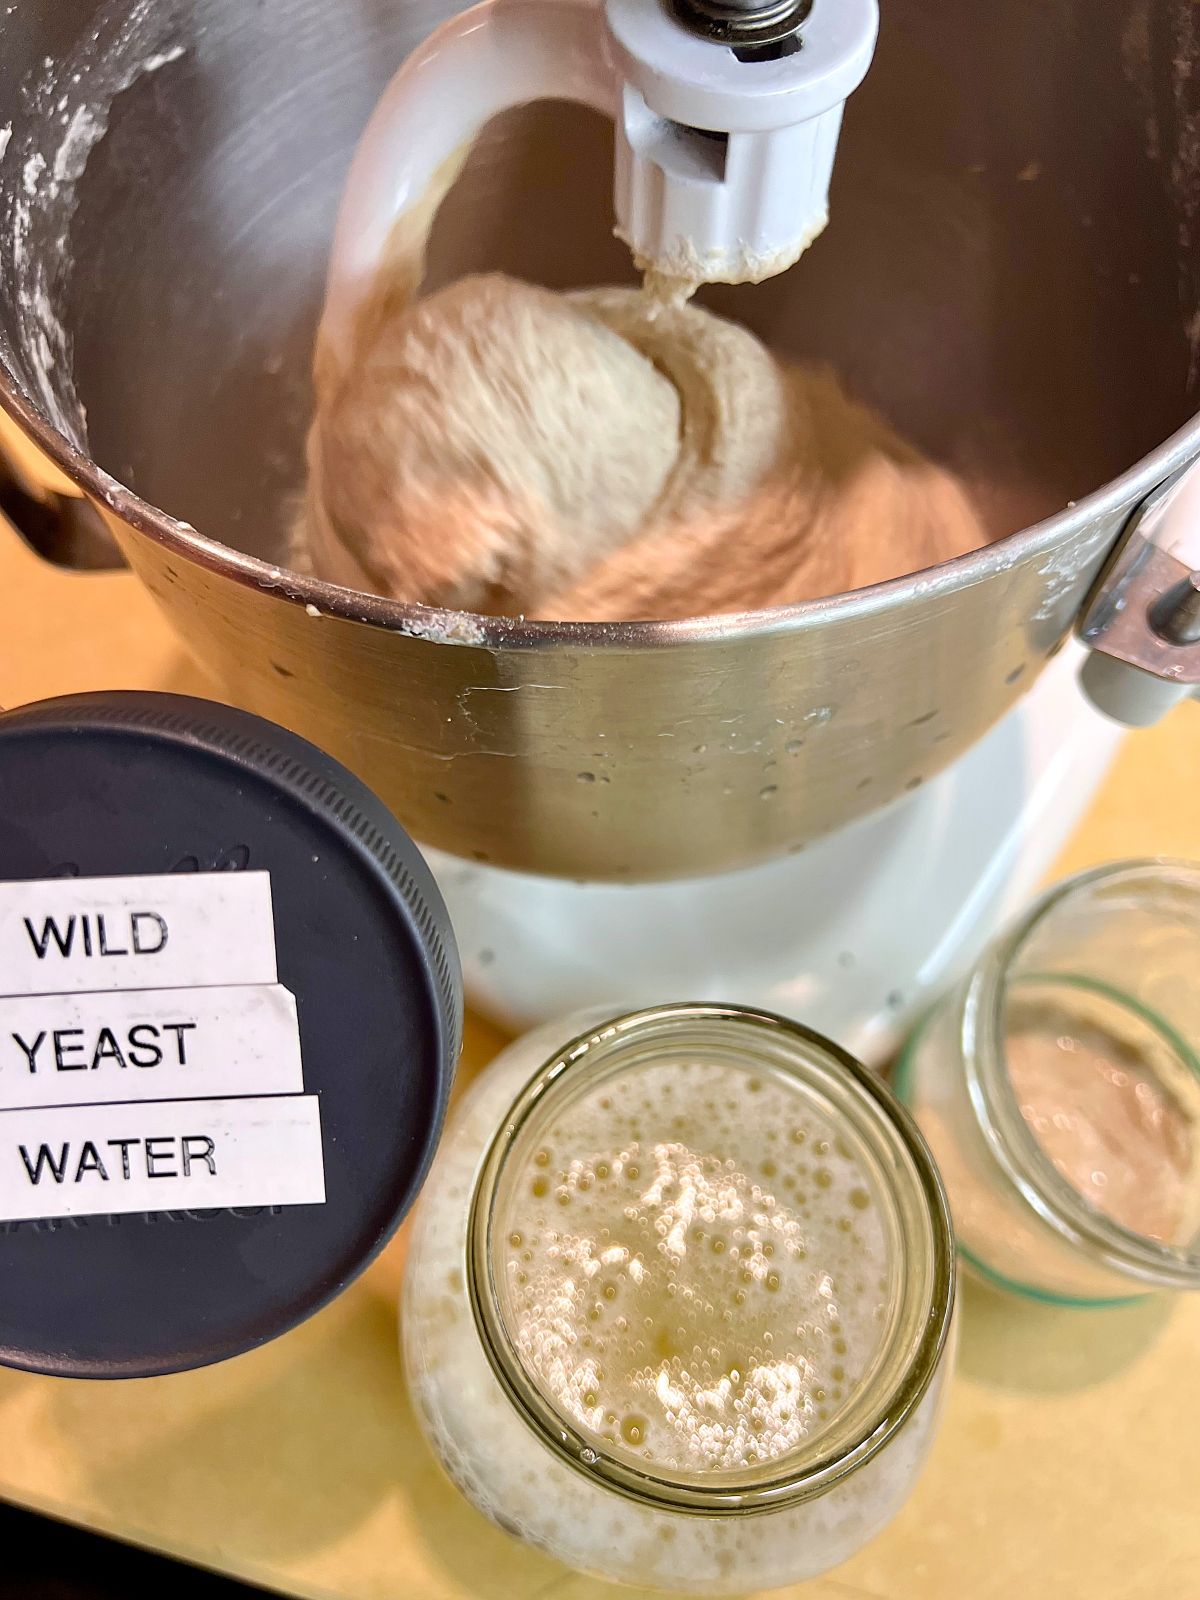
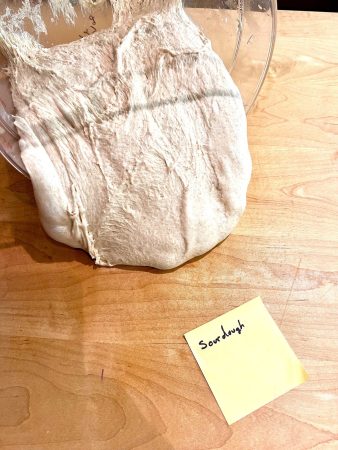
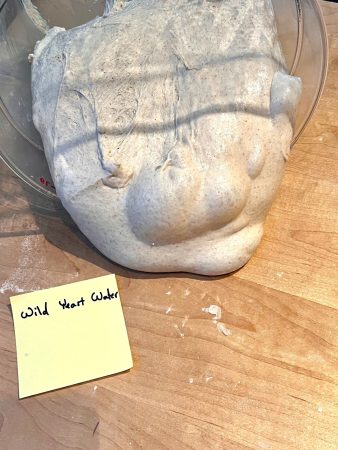
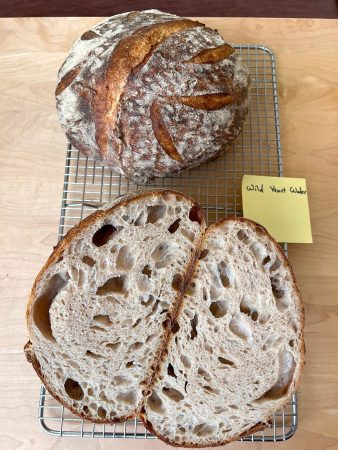
Main dough autolyse (top photo)Preferment (below) Wild Yeast Water baking is simpler than sourdough! Why?…

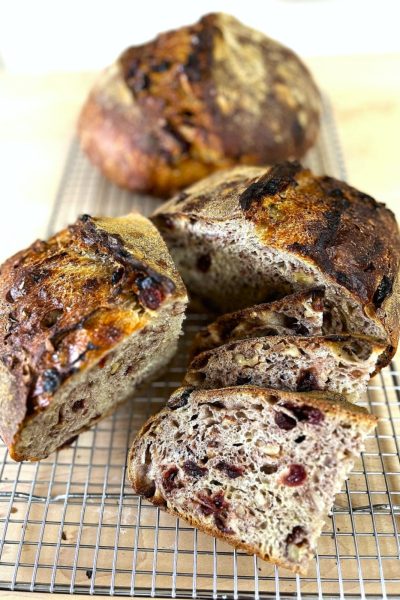

Which Bread Wins? Sourdough vs. Wild Yeast Water
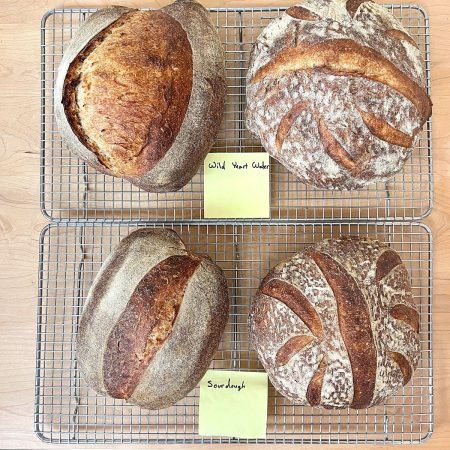
Recipe correction: Bread flour is 800g not 600g as first posted, for both the WYW and SD recipes.
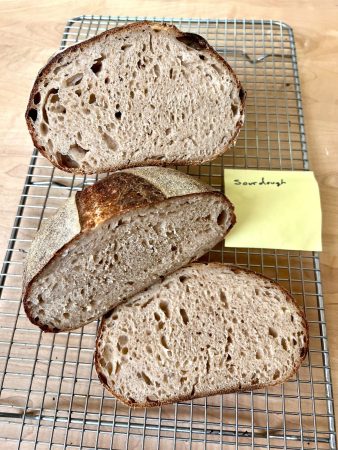
Update! Got my sourdough starter happier and baked the sourdough version again, to make a more equal comparison to the WYW. Yet, for folks challenged to maintain a well-fed sourdough starter, my first bake with underfed sourdough starter may look familiar.
If you’re a regular RecipeRose reader, you’ve seen my wild yeast water breads made with the no-feed, no-discard, ready-to-use sourdough alternative. Call it the Lazy-Way Starter! The breads look like sourdough bread, use a similar long-fermentation process, and bake up as crunchy-crusty boules and batards, or soft-sided pan loaves, focaccia, pizza, and sticky buns too!
But I’ve wondered:
Does wild yeast water aka WYW, make bread as good/better/same as sourdough starter aka SD?
I like my WYW breads. I bake them regularly and only sometimes use SD. Full disclosure, I’ve never taken to the routine of keeping SD well-fed and active. The recommended daily or twice daily feeding for optimally functioning SD can challenge home bakers. That schedule works best in a bakery. Hats off to sourdough home bakers who have a SD routine — I get it, the process can be addictive! Especially for folks who caught this addiction during covid, and quite successfully –I’m looking at you Instagrammers!
So, let’s talk about why most of my bread baking is with wild yeast water instead of sourdough starter. If I, or you, can bake really good bread without feeding and discarding sourdough starter, why wouldn’t we? Call this the lazy-way baking! (see my FAQ’s on WYW for all the details)
Am I a regular bread baker, as in at least once a week? Yes. Except while on vacation and I don’t hire a vacation WYW or SD sitter.
Do I remember to feed my sourdough starter at least once a day preferably twice a day to keep it active? No. There are recommendations for feeding SD in varying amounts of water and flour as much as twice daily when kept at warmer room temps like 70-ish, and once a day if cooler. This all can affect sourness and acidity of the starter and breads, but that’s a different story.
Has it been difficult for me to keep a well-fed active sourdough starter? Yes. Since I don’t use SD at least once a week, I refrigerate it after using and feeding, which means it takes 2-3 days or more of feeding to reactivate. For example: the starter in the bake for this post had been refrigerated for 4 weeks then fed three times over two days.
Does Wild Yeast Water require regular feeding or discard? No. WYW only needs replenishing after using a portion of the water for multiple batches of bread. Here’s a quick video of refreshing WYW.
In my quest to show WYW is as good/equal to SD, for this post I took to task sourdough pro tips and a recipe from Laila, The Early Riser Baker. This particular recipe by Laila uses starter that is refreshed at 84F for 12 hours, to make it extra sour. And she bulk proofs the dough overnight, making it convenient to bake the next morning after a few more hours of rising. I’ve mentioned Laila before in my Whole Grain Seeded Sandwich Bread recipe where I converted her sourdough recipe to WYW.
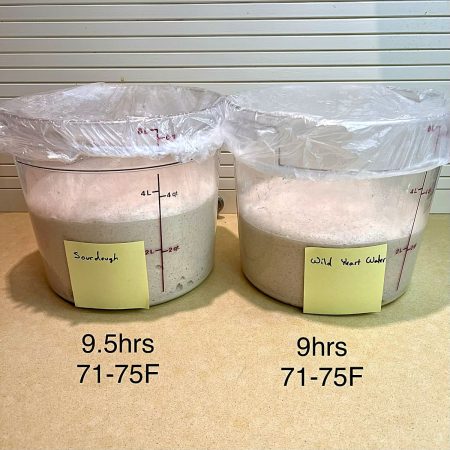
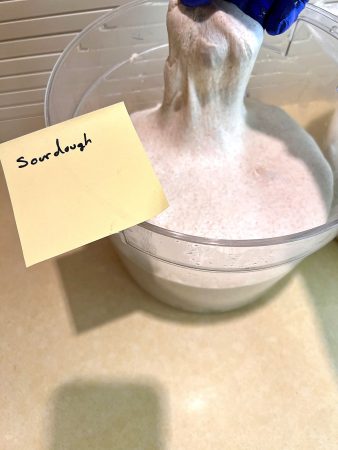
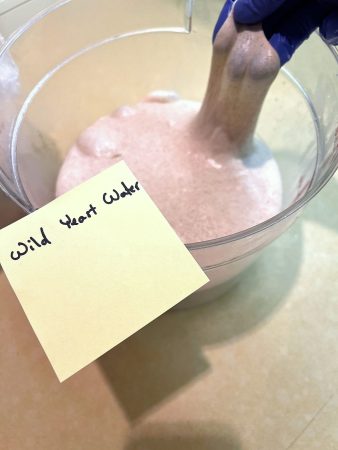
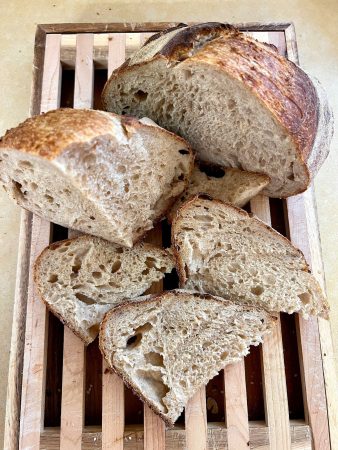
In my opinion, WYW wins this test although results could have been different if my SD was properly active. As noted above, I spent 2 days feeding my refrigerated sourdough starter to restart it, and it may not have been properly restarted by the looks and crumb of my results. Call me biased, but it was much easier to use my 8-week-old wild yeast water from the refrigerator to make an overnight ‘starter/preferment’, than it was to restart my sourdough starter.
I wish you could taste the breads — but you’ll just have to bake them for yourself! Yes, the SD bread is more sour than the WYW. The WYW has a more grain-forward flavor. So, suit yourself — properly feed sourdough starter and you’ve got a great tangy-flavor bread. Be lazy, with ready-to-use WYW whenever you feel like baking and have great bread just a little less tangy.
Let me know how you like to bake and tell me about your SD feeding routine ’cause I could use help. I’m always here to chat about bread baking!
Transparency: Both breads are good, although the sourdough is very tight crumb due to the under performance of the sourdough starter. Release the idea that open crumb is the ‘holey grail’ and it’s still a decent loaf of homemade bread!
This is one comparison test. Artisan bread baking has many variables including time, temperature, equipment, flour, plus practice! I could do this same test again with a well-activated sourdough starter or have let it bulk ferment longer and achieve results more similar to the WYW bread. Based on my experience, wild yeast water has a longer active shelf life than sourdough starter and stays active with no maintenance for weeks to months. Hence my preference for the ‘lazy-way’ wild yeast water.
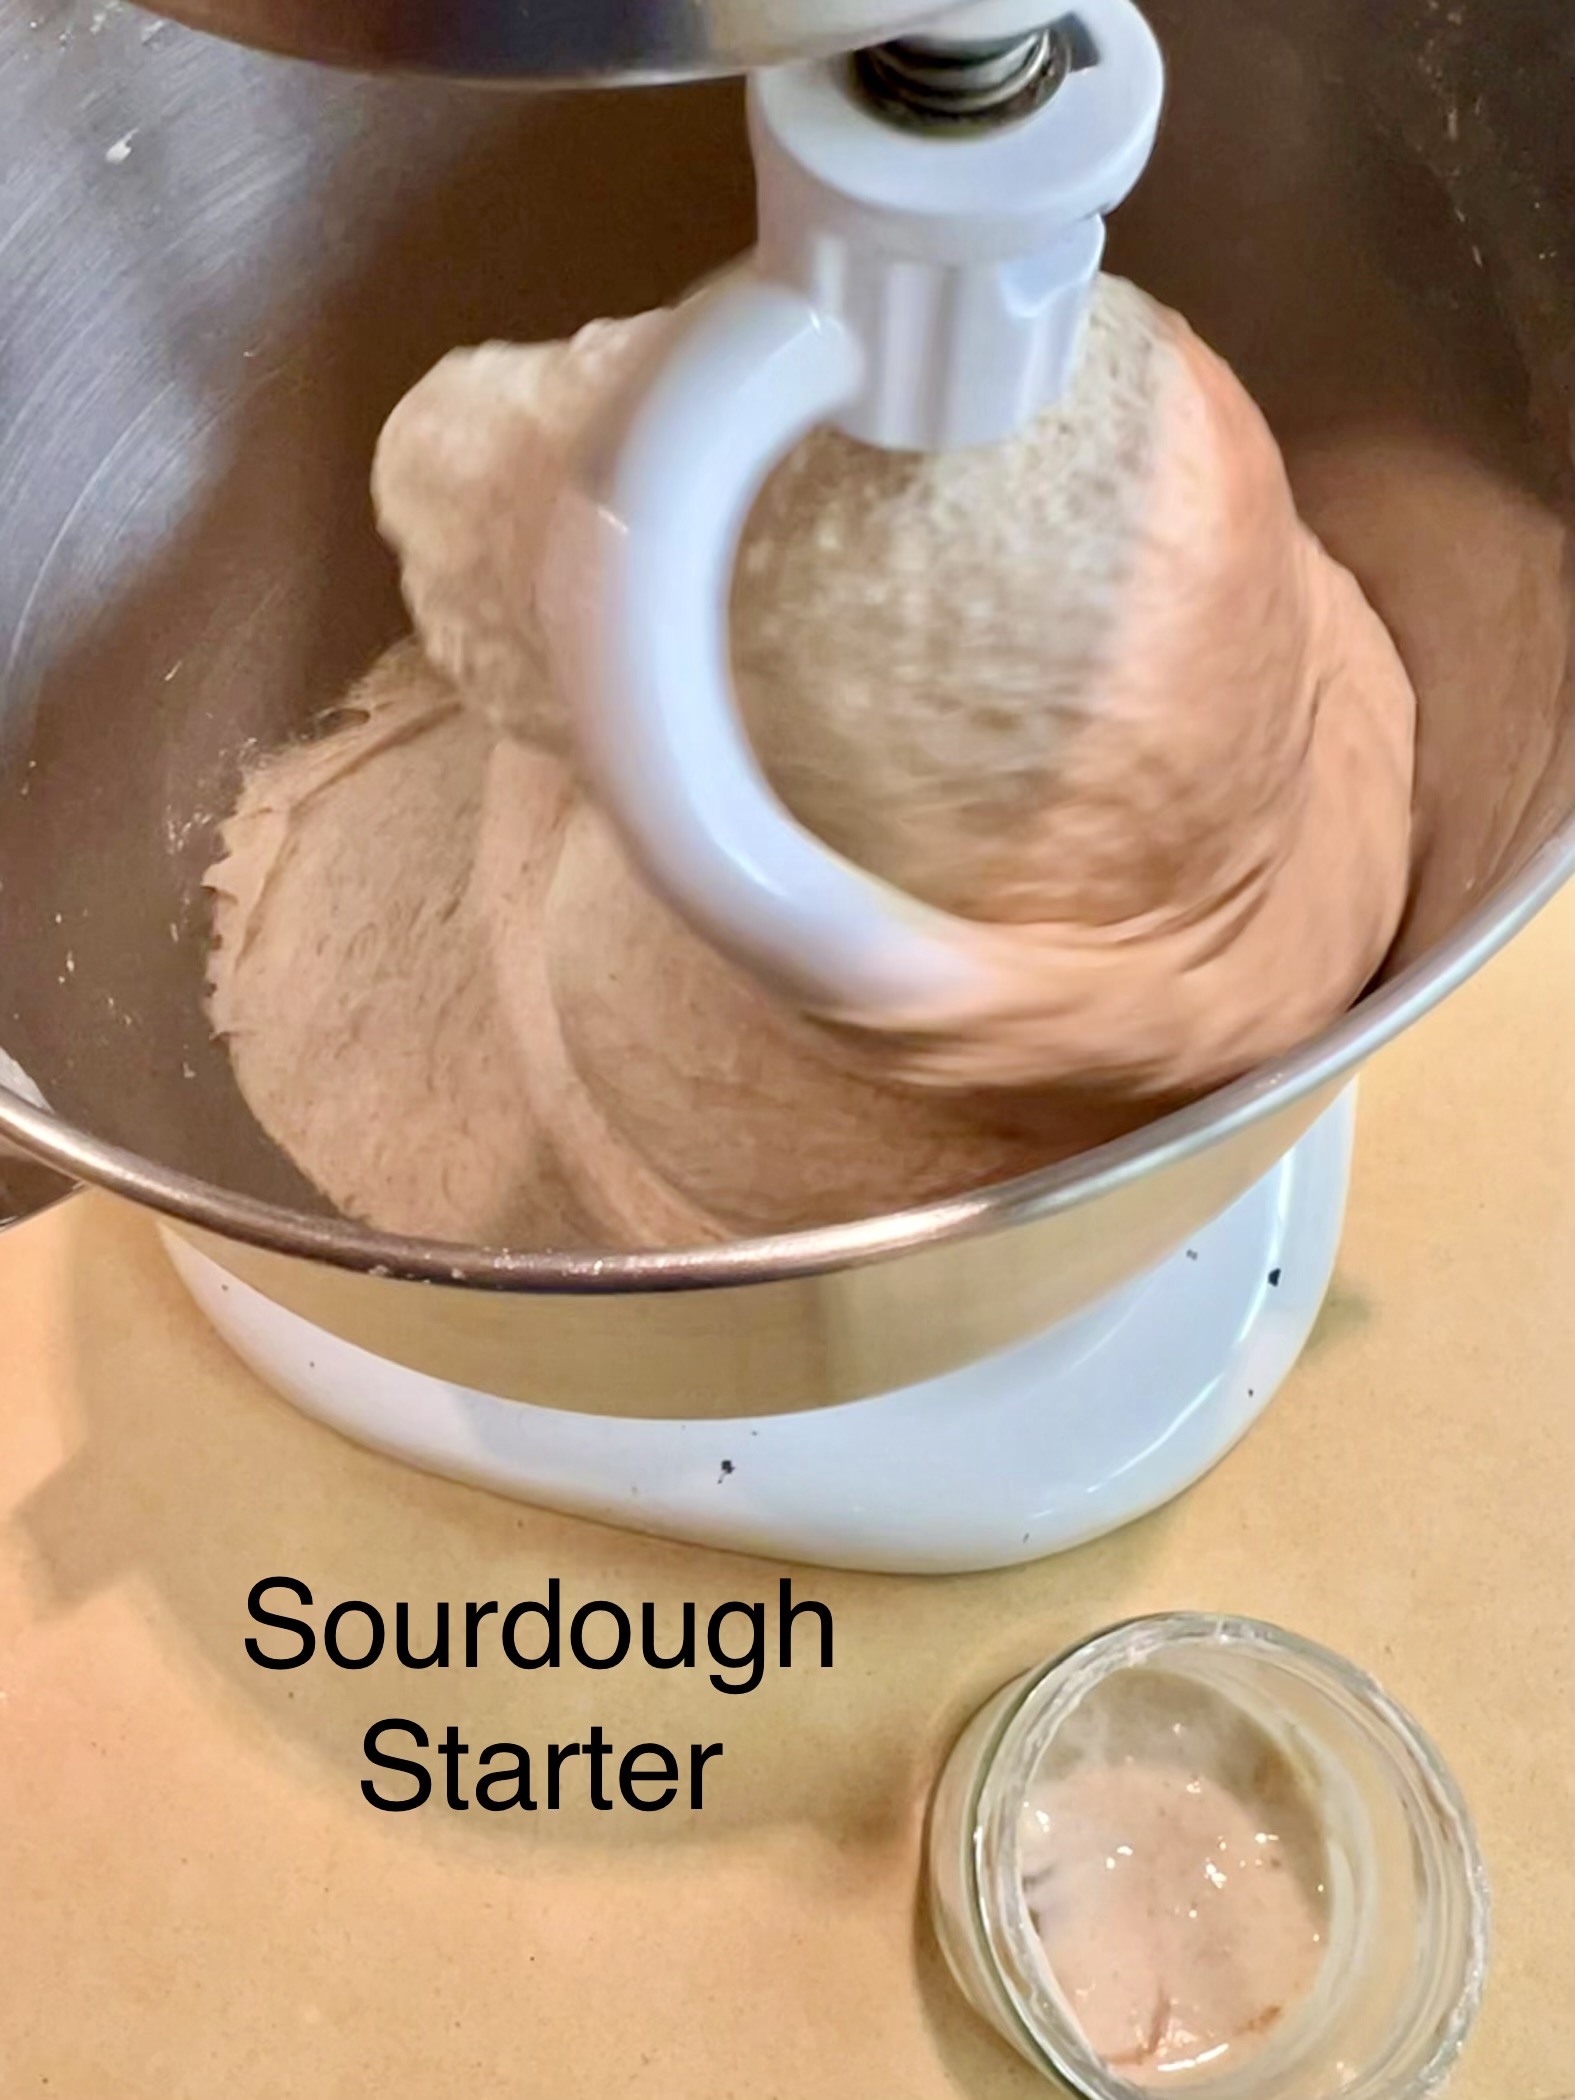
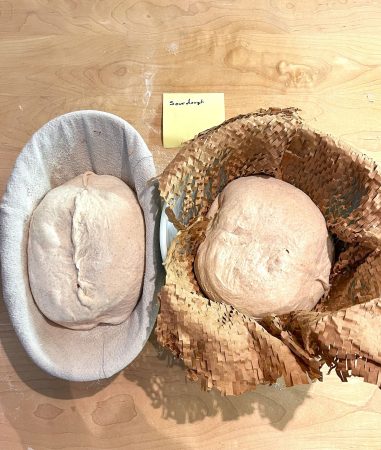
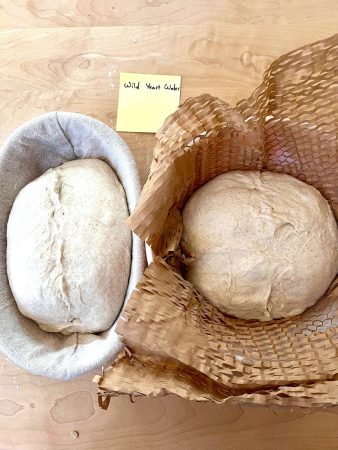
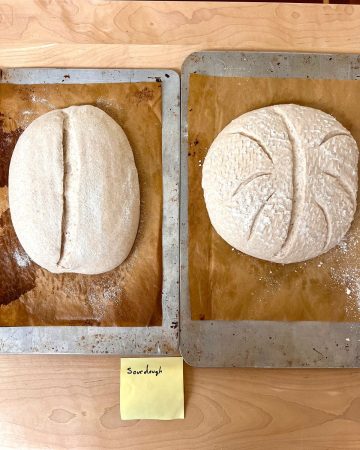
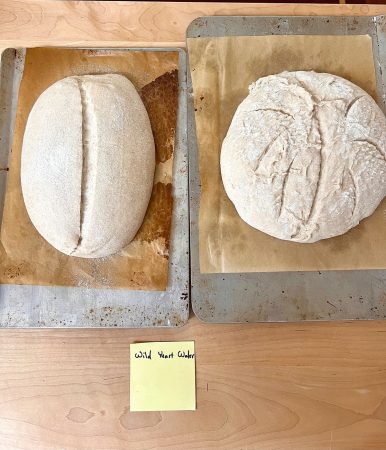
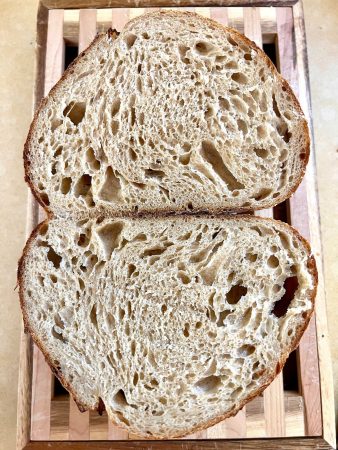
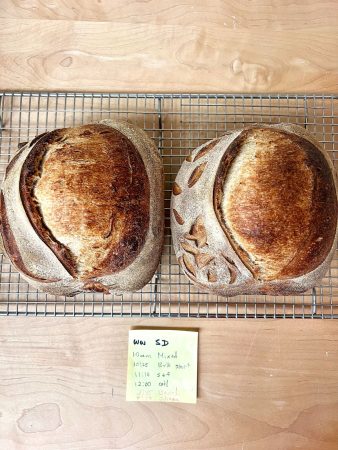
Below is my 2nd try baking sourdough with a more well-fed starter. I like it a lot better than the previous test, and the tangy sourdough flavor is very good. Not saying better than WYW, the two are different. There’s space for all types of breads 🙂

Which Bread Wins? Sourdough vs Wild Yeast Water
This recipe is a version of a recipe by Laila of the Early Rise Baker. I followed her high temp of 84F for the sourdough preferment/levain. The high temperature and using whole wheat flour to feed the starter contribute to a sour flavor. This is a cool, overnight long rise, further contributing to flavor of either the sourdough or wild yeast water methods. Instructions are for making either with sourdough starter or wild yeast water preferment.
Servings: 2 loaves
Equipment
- Dutch oven optional
Ingredients
Sourdough Starter/Levain
- 75 g cold water
- 15 g active sourdough starter starter that has been recently fed and doubles in 4-6 hours after feeding at 70-75F
- 75 g whole wheat flour
Wild Yeast Water Preferment/Levain
- 80 g wild yeast water, can be weeks or months old if kept refrigerated. Check that it bubbles when shaken. instructions How to Make Wild Yeast Water – Rosemary Mark
- 80 g whole wheat flour or half white bread flour
Main Dough
- 130 g Prepared sourdough OR wild yeast water Levain choose either type of starter, and use one in this recipe
- 650 g cool tap water
- 800 g white bread flour Kirkland brand all-purpose flour is very similar to bread flour. It works well.
- 100 g whole wheat flour
- 19 g Kosher salt
Instructions
Preparing Sourdough Starter Preferment/Levain – the morning before you want to bake
- In a small bowl or jar (I use a glass pint jar) stir together the 75g cold water and 15g active sourdough starter. Add 75g whole wheat flour and stir well.
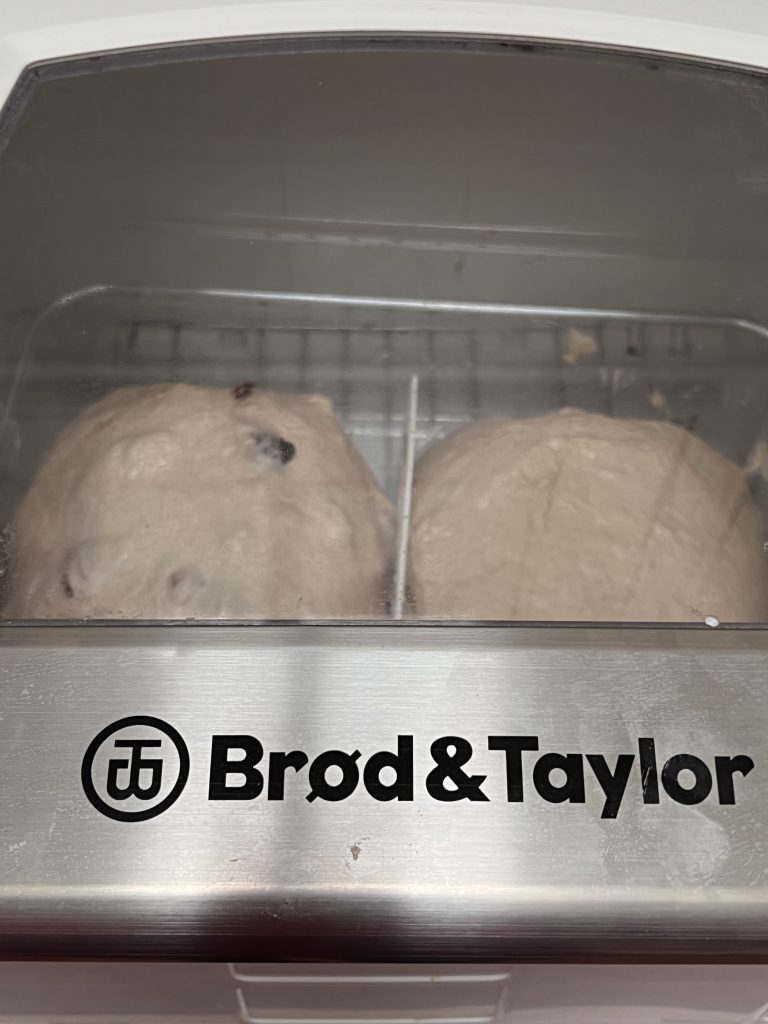
- Cover and place in a very warm place, ideally at 84F for 12 hours. I used my Brod & Taylor Folding Proofer.
Preparing Wild Yeast Water Preferment/Levain – morning before or several days before you want to bake
- Place the 80g yeast water in a glass pint jar; heat about 15 seconds in microwave to 80-90F. Not hotter. Heating speeds up the process; cold water just takes a little longer for the preferment to double.
- Stir in the 80g whole wheat flour. Cover and let stand at room temperature or up to 80F in the folding proofer until at least double in volume. This can be done the day before baking, or several days before then refrigerated for up to 4 days. Let warm to about 70F before continuing with recipe.
Main Dough – suggestion: mix at 9pm
- Stir the sourdough starter OR wild yeast water preferment with the 650g cool water in large bowl of stand mixer, or large mixing bowl. Mix to mostly blend with the water.
- Add the bread flour, whole wheat flour, and salt; stir to incorporate all the dry flour and water using a spoon and scraping sides of bowl.
- In a stand mixer (such as KitchenAid) mix on low speed for 10 minutes. If mixing by hand use the slap and fold method for 5-10 minutes to thoroughly develop the dough.
- Place dough in large bowl or cambro for bulk fermentation. Cover and let stand at approximately 70F for 9-10hrs until about double in volume and dough feels soft and pillowy. Optional: give the dough 3 or 4 stretch and folds during the first two hours. If doing an overnight rise, timing may not be convenient late in the evening, so no worries to skip this step.
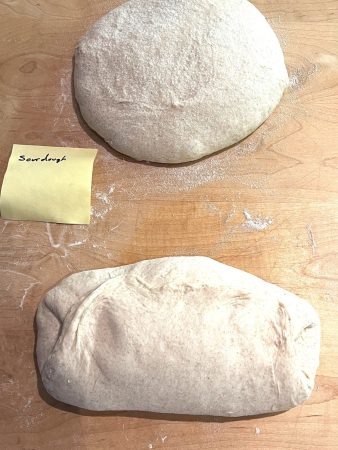
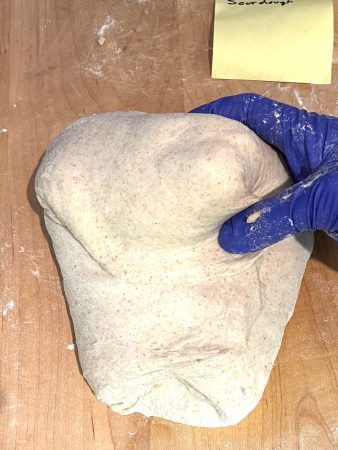
- After 9-10hrs, dough should be about double in volume, appear soft and fluffy and may have some bubbles on top. Turn out onto dampened surface. Divide in half and shape lightly just to pull edges together into rounds. Let rest 15-30 minutes. Dough should relax and expand, with edges still rounded not flattened which will happen if resting too long.
- Dust top of dough with flour or rice flour. Turn floured side down. Gently fold two sides over like an envelope. Roll short side down and let rest a moment on bench seam side down.
- Use bench scraper to gently lift dough and place seam side up into banneton. Let rest 2-4 hours at 70-85F, until dough feels puffy and a light depression with finger slowly fills in the dent. This could be less than 2 hours depending on the dough strength and temperature. Or, refrigerate in bannetons for up to 24 hours before baking.
- When dough looks ready, place in refrigerator while preheating oven to 475F. If using a Dutch oven, pizza stone or baking steel, place in the cold oven before preheating.
- Turn dough out of banneton onto parchment paper or well-floured pizza peel. I use a rimless baking sheet. Score top of dough.
- Turn into preheated Dutch oven and cover, or open bake on stone or steel with or without a baking shell. Bake 20 minutes, then uncover if covered. Continue baking 5-10 minutes until well browned. Depending on your oven, with experience you may decide to reduce temperature to 450F after putting dough in oven. Sometimes if oven is too hot, the crust sets too quickly and produces either no ear or a bulging belly.
- Cool on a wire rack and try not to tear into it for at least 1 hour, preferably 3 hours. Then send me pictures!

I have not made your recipe so can’t comment on that. But it’s great to see this side by side comparison of the two methods. I myself prefer WYW for the reasons you mentioned–it’s much easier to manage, especially if you are not baking bread daily. I like the flavor of both tangier sourdough and less so WYW, but I think you can achieve that tangy flavor by letting the yeast water preferment go a bit longer.
In any case, I always enjoy your ongoing experiments!
The ways I’ve found to make WYW a little tangier are: longer slower bulk fermentation at about 70F like in this recipe post; refrigerating risen preferment for up to 4 days; or longer cold retard of shaped dough of up to 36 hours.
There’s always another experiment or variation to reach our bread goals!
Still using your rock solid method to keep my WYW replenished and have not once needed to start over. I have, like in this recipe tried SD and WYW but because my wife does not like the sour notes in SD bread, WYW was my go to.
However, in an attempt to lower the glycemic index of the vast amount of bread I consume, I have hit on a HyBread method. Yes deliberate misspelling. 8% WYW & 8% Bread flour for 1 levain, 20% SD 2nd Levain both made 10PM the night before. Approx 10 hours later I make the final dough, Approx 6 hr BF, 1.5 hours final proof, bake from a COLD start in a clay baker 430F for 38 Minutes and after 35 loafs, never a failure and at the 38 min mark the bread hits exactly 205F internal temp. Very repeatable.
Complex, yes, but I get a dough that tolerates my numerous mistakes handles very nice at 71% to 75% hydration and tolerates numerous variations of bread flour and Fresh Milled HWW, or HRW, Khorasan, Rye without any major disruption in dough handling.
WYW {usually 10% more in final dough preparation} is the key for me to keep my doctor off my back on blood sugar.
This is fantastic Craig! Sounds like the long fermentation is what you’ve found controls your blood sugar? And the ‘HyBread’ method of WYW and SD is the trick?